

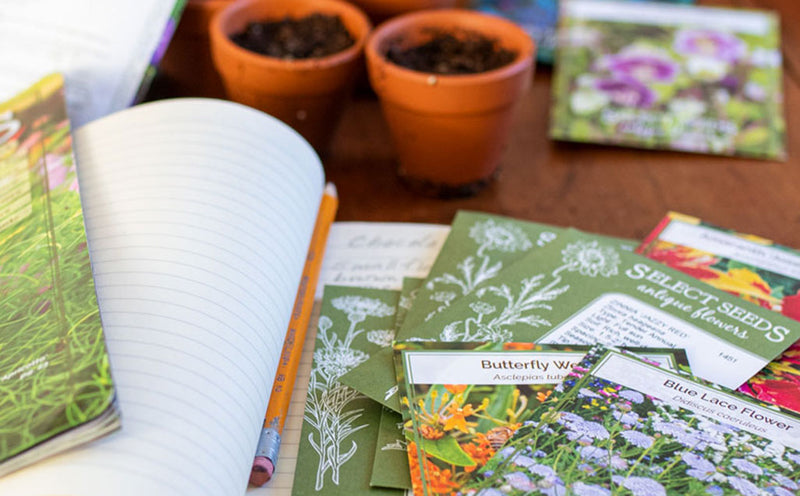
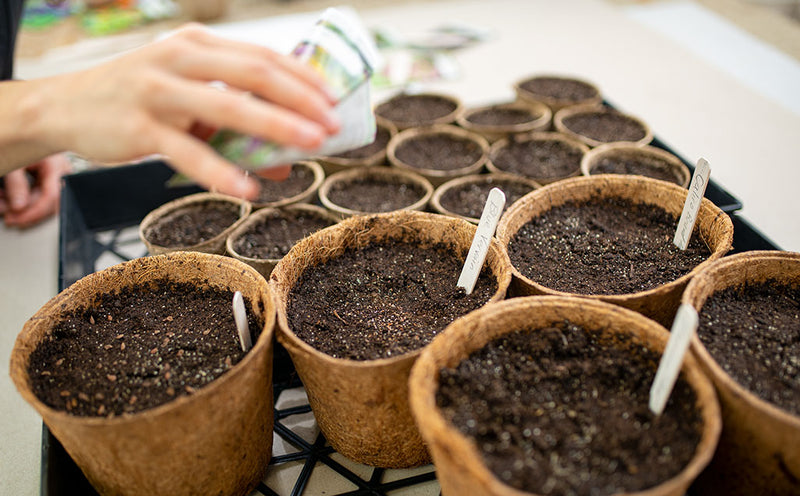
Indoor Seed Sowing
High germination results are the main benefit of starting seeds indoors, where weather, bugs and birds are not part of the equation and light, temperature and moisture can be controlled easily. Gardeners in short season areas can get a jump on the season, as indoor sown annuals will bloom earlier than their direct sown counterparts, perennials will have temperate spring weather to start establishing, and long season vegetables will have enough time to mature.
What You Need to Start
Media: Soil-less seed germinating mix is formulated with finely milled sphagnum peat, vermiculite or perlite, free of weeds or pathogens. If the mixture is dry, add some warm water and mix in; let it sit for a few hours to absorb the moisture. The mix should be fine textured and lightly moist.
Container: Clean pots are essential, so be sure to wash any reused plastic pots in soapy water that has a splash of bleach in it. Good drainage is essential! Shallow pots with holes in the bottom, such as the common 6-pack, are ideal. When filling, do not pack the growing medium into the pot, as this will decrease space for air, water, and root growth. Instead, tap the sides or bottom of the container to get the mixture to settle. Leave about 1/2” of space to the top of the container.
Bright Artificial Light: A fixture outfitted with 2 cool LED bulbs is bright enough for growing good stocky seedlings.
How to Sow Your Seeds
When to Sow: Many flower seeds need 6–8 weeks indoors before setting out. Some, such as sunflowers, cosmos and zinnias require only 4 weeks and are most often sown directly outdoors. Others require 9–12 weeks indoors before setting out and should be started earlier. This group includes many popular annuals, among them: Agastache, Ageratum, Black-eyed Susan vine, Candytuft, Petunia, Rhodochiton, Salpiglossis, Scabiosa, Snapdragon, Verbena and Viola, among others.
How to Sow: Space the seeds about four seed-widths apart from each other. To sow tiny seeds, fold the end of the packet so the seeds will roll out one at a time when tapped lightly. Space them apart as best you can so that the best seedlings will not get disturbed during thinning.
Tiny seeds: 4–6 seeds per cell in a 6-pack container
Medium to Large seeds: 2–3 seeds per cell in a 6-pack or 4-pack
Light or Dark: Seeds that require light to germinate will be indicated on packet as “Surface sow.” This means they should not be covered, just pressed lightly into the media and sprinkled with a dusting of ¬ ne vermiculite. A few varieties, notably Delphinium, require darkness and should be covered completely with media and a sheet of black construction paper.
Sowing small seeds
Pressing seeds into media
Cold Stratification: If the seed packet suggests that the seeds initially be kept at a cool temperature (usually about 35–40°F) for a period of time, it is because they require a cool, moist period known as cold stratification to break embryonic dormancy. This can be accomplished naturally by direct sowing during a cooler time of year such as early spring or fall so that they will experience natural stratification. Alternatively, sow the seeds indoors in moistened flats with covers or place the seeds between moistened paper towels in sealed plastic bags and refrigerate. If stratifying indoors, do not allow the seeds to dry out or freeze.
Penetrating Seed Coat: Nicking the seed coat and soaking seeds in water are treatments that aid in germination for seeds with hard seed coats such as sweet peas.
Water: Water in with a gentle spray and create a humid environment by covering it with a clear lid or dome that doesn’t touch the growing medium.
Temperature: A room temperature of 65–75°F is suitable for most varieties. Heat mats with a thermostat can raise the temperature of the soil to the desired level in a colder room.
Dusting with vermiculite
Cover with humidity dome
Growing Healthy Seedlings After Germination
Remove the Dome: Seedlings need air circulation to stay healthy.
Temperature: Lower the daytime temperatures by 10°F to 55–65°F.
Place Under Bright Light: After your seeds germinate, keep them very close to the lights (about 2–4” away) keeping the lights on for 16–18 hours a day (do not let seedlings dry out!)
Water: Water from the bottom to promote deep rooting and prevent the sudden collapse of your seedlings, called damping off, which is associated with surface dampness. Place containers in a tray of water and allow the medium to soak up moisture; as soon as the top has darkened a bit, remove from the water and allow excess water to drain. Overhead watering is better tolerated as seedlings grow larger.
Fertilizer: Use half strength fertilizer or organic formulations for seedlings every two weeks as over fertilization can cause weak, leggy plants.
Thin Crowded Seedlings: Thickly sown seeds will need thinning with tweezers as soon as they come up. Leave 2–4 plants per cell, depending on seedling size, later transplanting the extras to their own pack. Group seedlings of similar size together to make watering and positioning for light exposure easier, as they will have similar requirements.
Transplanting Time
Potting Up: Wait until seedlings have at least two true leaves, which takes about 2–6 weeks post-germination. If seedlings are outgrowing their containers or becoming intertwined, transplant to slightly larger, individual containers. Potting up to a container that is too big will result in the excess growing media retaining too much moisture, leading to root rot. If separating seedlings, take care to pull by the leaves, not the stems, as new leaves can grow, but damaged stems can lead to death of the seedling. Remove the container and gently tease the roots apart starting at the edge of the soil, keeping only the best seedlings, planting taller seedlings a bit deeper than they were in the germination flat to keep upright.
Hardening Off: Once your seedlings have filled in their roomier quarters with a healthy root system, it is time to get ready to plant outdoors. Begin hardening seedlings off on a partly to mostly cloudy day by exposing them to outdoor conditions including sunlight, cooler/warmer temperatures, and wind, for a couple of hours at a time over the course of several days, gradually working up to all day and overnight. Do not allow the medium to dry out. Once the seedlings are acclimated to the outdoors, they can be set in the ground.
Planting Out: Plants are easier to remove from the cell packs or other plastic pots if the soil has started to dry just a bit, as overly wet or overly dry soils will make the removal of an intact root ball more difficult. Pinch or push up from the bottom of the pot as needed to free the plant from its container. Transplant into well-prepared, raked soil on a cloudy day—misty weather is ideal. Firm in gently and water immediately.
Outdoor Seed Sowing
Direct Sowing Outdoors: Some seeds grow best when sown directly into the ground. Please refer to seed packets for species and variety specific information on when to sow, spacing, etc.
Site Preparation: Dig down 8-10” into the seedbed to loosen the soil, mixing in some organic matter. Also work in some organic general fertilizer if soils are poor. (Contact your Cooperative Extension Service for a soil test.) Rake the soil so that it is level and smooth; water gently to settle.
Sowing Methods
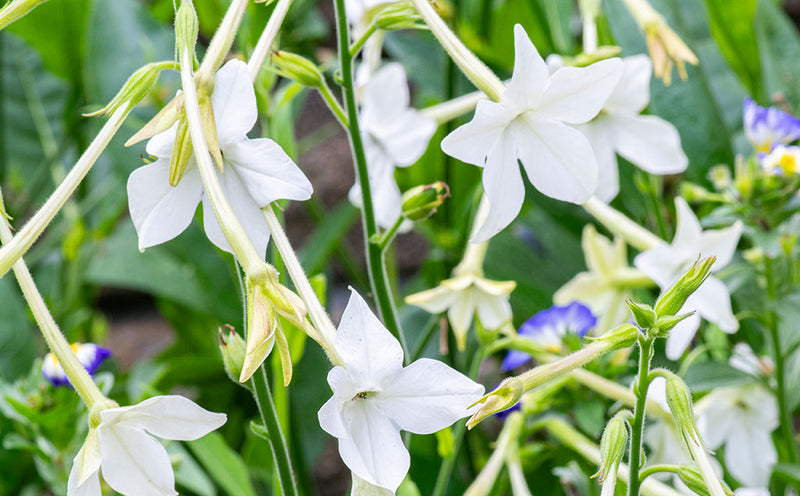
Broadcasting: The simplest method. It creates an informal, natural look. Sprinkle a handful of seeds randomly over the prepared soil. Mix tiny seeds, such tobacco or poppy, with a bit of coarse sand or vermiculite to make casting easier. Press them gently into the soil where they fall. Cover as indicated on the packet and gently moisten. Note: This method only works if soil is relatively weed free and you can recognize the wanted flower seedlings from weeds.
Row Sowing: More precise row-sowing allows for exact placement. Trace shallow furrows in the prepared seedbed. Refer to seed packet for depth/coverage. Evenly dribble a handful of seeds between thumb and forefinger into the furrow, cover and firm lightly and label.
Quick Tip: Sprinkle a bit of very fine sand over or directly next to sown seeds to mark exactly where you placed the seeds for easy identification later, or cover with a light sprinkling of straw or herbicide free grass clippings to prevent washing out or excessive drying of the soil surface.
Moisture & Shading: Keep seedbed moist to assure good germination and healthy seedling development. During times of extreme heat, provide shade for the seedbed with a light shade cloth or large umbrella.
Care After Germination
Thinning: This is a must, as crowding results in poor growth and disease. Thin by gently pulling or pinching off at soil level as soon as seeds germinate. Thin twice, first spacing to 3” apart and discarding the extras, the second thinning 2-3 weeks later to final spacing as indicated on the packet. Transplant these later extras, if desired.
Care: Pinch out the growing tip to encourage a bushy habit when your plants are about 6” tall. Do not pinch celosia, balsam, poppies, foxgloves or column stocks. Spread a 2” layer of organic mulch between seedlings to discourage weeds while retaining soil moisture. Keep your flower bed weed-free for best results. If a soil test indicates the need for it, supplement with organic fertilizer twice during the season. If providing support such as staking, do so before plants reach an unmanageable size (6-12” tall is ideal).
-
Annual Seeds
-
Perennial Seeds